Upper Limb Examination
The upper limb neurological examination is part of the neurological exam that focuses on the motor and sensory neurons that innervate the upper limbs. It is useful in identifying pathology that affects the upper limbs. The key components of this examination are; tone, power, reflexes, sensation and function. The ability to test these in a systematic and slick manner is one of the key requirements as a medical student. Although often neurological examinations are dubbed as the harder ones in OSCEs, if you begin by understanding what each nerve does and what signs/symptoms to look for then it becomes a case of pattern recognition. Pathology found in upper limb neurological examinations can vary from upper or lower motor neurone lesion, muscular dystrophy or Parkinson's disease.
Introduction
- Wash hands
Wash your hands using the Ayliffe technique
2. Introduce yourself
Introduce yourself and give your name and grade
3. Check patient details
Clarify patient’s identity by confirming name and asking for their DOB
4. Describe examination
Explain what examination you are performing and what it involves
5. Gain verbal consent
6. Offer a chaperone
Ask if they would like a chaperone
Peripheral Examination
- Position patient at 45 degrees
Initially lie the patient at 45 degrees and expose them from their waist up
2. End of bed inspection
Inspect the patient from the end of the best and look for the following:
Patient
Muscle bulk
- Decreased (Lower motor lesion, late on upper motor lesions)
- Increased (muscular dystrophy)
Tremor
- Slow coarse tremor unilateral (Parkinson’s Disease)
- Bilateral action tremor (Essential Tremor)
- Intention tremor (Cerebellar damage)
Abnormal movements
- Fasciculation - irregular twitches under skin (Lower motor neurone disease in wasted muscle)
- Myoclonic jerks - sudden contractions (Epilepsy, brain damage, dementia)
- Chorea - writhing movements (Huntington's chorea)
Adjuncts
- eg. any supplemental O2 (%), IV lines, infusions, catheter
Paraphernalia
- Walking aids, wheelchair
Neuro examination
1. Inspect for tone
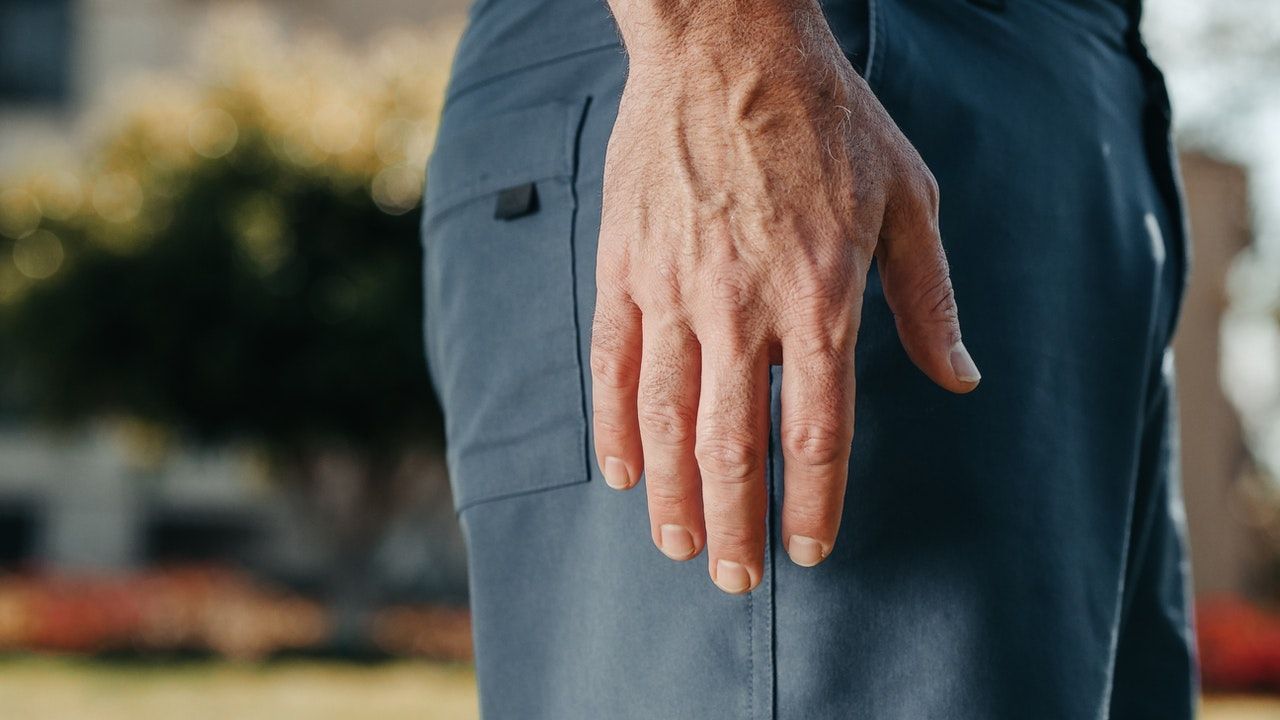
Ask the patient to shake your hand and check for the signs below. Inspect both the right and left and compare. Move arm slowly then quickly to check for rigidity and spasticity.
Ask the patient to relax and go floppy when checking tone and reflexes.
Muscle bulk
- Feel their grip and muscle bulk of hands
Tone
- Hypotonia/flaccidity - reduced tone associated with muscle wasting, weakness and reduced reflexes (Lower motor neurone disease)
- Hypertonia/rigidity - [picked up on slow movements] increased tone associated with increased reflexes (Upper motor neurone disease)
- Cogwheel rigidity - jerky movements (Parkinson’s disease)
- Spasticity - [picked up on quicker movements] a catch found on quick movements (upper motor neurone lesion)
2. Inspect for power
Inspect the power in the upper limb by asking the patient to apply force against the direction you are pushing or pulling. Compare the right and left sides at the same time. Check the joints below for the following:
Finger
- Abduction, adduction, flexion and extension
Thumb
- Extension and opposition
Wrist
- Flexion and extension
Elbow
- Flexion and extension
Shoulder
- Abduction, adduction, flexion and extension
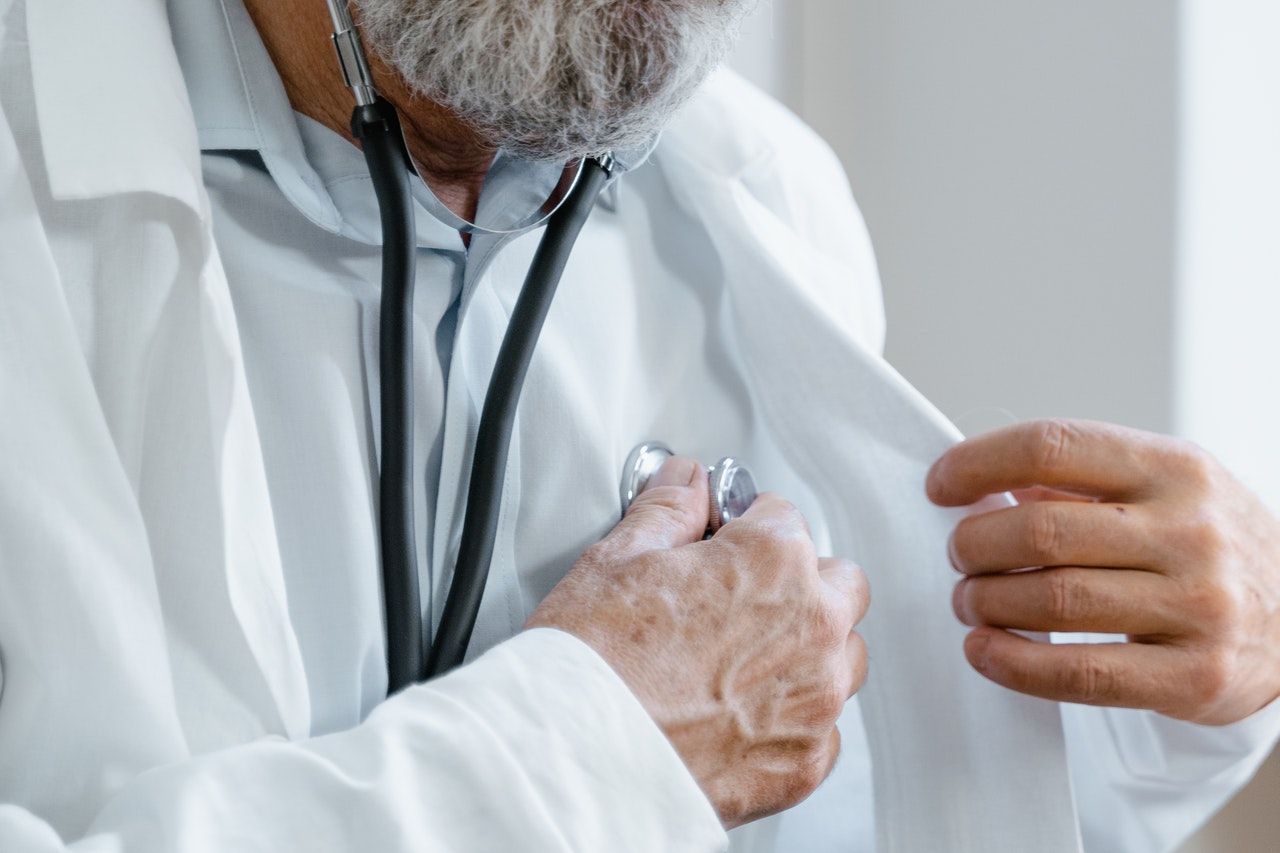
3. Test the patient's reflexes
Use a tendon hammer to elicit the patient's reflexes. Test the following three reflexes and compare the right to left side:
- Supinator reflex (C5, C6) - ask the patient to rest their arm across their abdomen, strike them midway up their forearm over the supinator tendon.
- Biceps reflex (C5, C6) - ask the patient to straighten their arm. Strike over the biceps tendon in the antecubital fossa.
- Triceps reflex (C6, C7) - hold the arm at 90 degrees and rest it upon yours. Strike the triceps tendon superior to the lateral epicondyle
To reinforce the reflex, ask the patient to clench their jaw prior to striking the tendon.
- Increased response (upper motor neurone lesion)
- Decreased response (lower motor neurone lesion)
4. Inspect for sensation
Inspect the upper limbs for sensation to light touch, pain, vibration and proprioception. Examine each dermatome and compare right to left.
You can only examine with the tools that you have been given. Therefore, if you are not provided with a neurotip or 128Hz tuning fork, you will not be able to test pain and vibration. The minimum you will be expected to do is gross sensation “Can you feel me touch you here?”.
Light touch (Large fast-conducting axons)
- Examine both sides. Compare each side to see if there is a loss of gross sensation in area. Does this fit a dermatome or cutaneous nerve pattern?
Pain (Spinothalamic tract)
- If you are provided with a neurotip, now check if they can appreciate the difference between light touch and pain. Ask them to keep their eyes open as you demonstrate the difference on either their hand or sternum. Then ask them to close their eyes and ask them whether you are pressing with the sharp / dull end of the neurotip.
Vibration (Medial lemniscus)
- Again if provided with a 128Hz tuning fork test for vibration sensation. Initially demonstrate on either their stenum or hand. Place the tuning fork on bony protuberances distally working your way proximally.
Proprioception (Dorsal columns)
- Test for proprioception by demonstrating to the patient when their joint is up or down. Ask them to close their eyes and tell you whether you have placed a joint pointing up or down. Start with the most distal joint and work your way proximally.
SPECIAL TESTS
Stereognosis (Dorsal column, Parietal lobe)
- Ask the patient to close their eyes then place a small common object in the patient's hand e.g. 20p coin. Ask them to deduce what it is by just feeling it.
Graphaesthesia (Dorsal column, Parietal lobe) if patient unable to grasp
- Use a blunt object and draw a number or letter on the patient's palm with their eyes closed. Ask them to confirm it.
5. Test the coordination of the upper limbs
Test the coordination of the upper limbs by asking the patient to do the following.
Finger-nose test (intention tremor)
- Ask the patient to use their index finger to touch their nose then your finger. Move your finger around to test for intention tremor. Compare right to left.
Dysdiadokinesis
- Ask the patient to clap their left hand with their right. Then ask them to alternate from back to front (palm and dorsum) as quick as they can. Compare their right hand to their left.
End of examination
- Thank patient
Let the patient know you have finished examining them and thank them for their time. Be courteous and offer them help to get redressed.
2. State other exams for completion Turn to the examiner and state what else you would do to complete the exam.
3. State what tests you would perform
Explain to the examiner what tests and investigations you would perform
- Dip/MC&S - infection
- FBC - Infection
- U&E - Hyperkalaemia, Hyponatraemia
- LFT - Metastases
- B12 / folate - peripheral neuropathy
Doctor Khalid Newsletter
Join the newsletter to receive the latest updates in your inbox.
