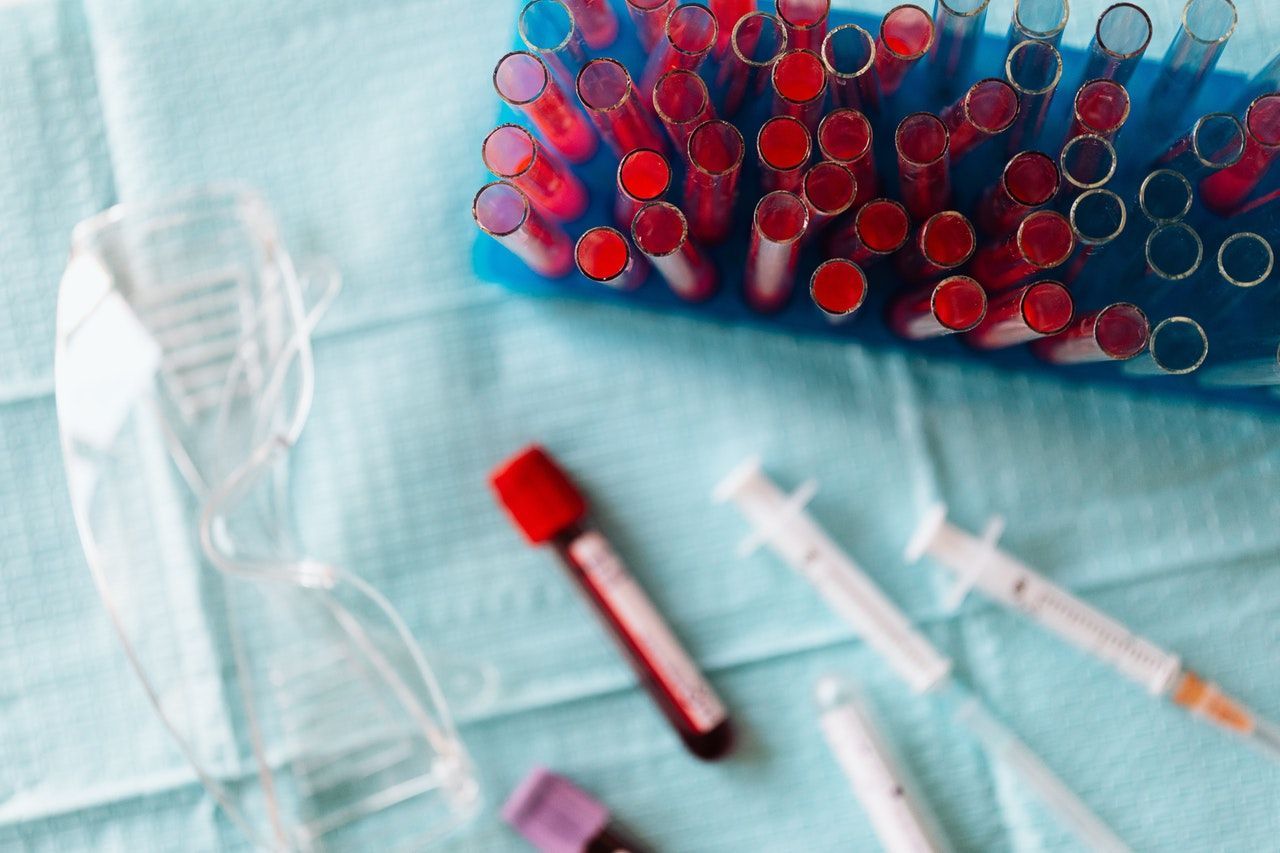
Venepuncture
Venepuncture involves taking blood from a patient's vein. This is often very useful in the acutely unwell patients; pneumonia, pancreatitis or cholecystitis as it gives an indication of the severity of the conditions. There are a number of ways to do this; vacutainer system, needle and syringe or butterfly. Please refer to your medical school or hospital guidelines to see which one is appropriate for you to learn.
Indications and Contraindications
- Routine bloods – help diagnosis and monitor treatment
- Group and save/ cross match – to find out patient’s blood group with a view to transfuse
- Microbiology – blood cultures to exclude septicaemia
- Toxicology – paracetamol levels (overdose), monitoring of medication levels e.g vancomycin, gentamycin.
- Acutely unwell patients- part of basic investigations to find out underlying cause
Contraindications
Equipment
- Gloves + apron
- Tourniquet
- 2% chlorhexidine wipe
- Gauze
- Tape
- Vacutainer needle (green)
- Vacutainer barrel
- Blood bottles
- Sharps bin
Introduction
- Wash hands
Wash your hands using the Ayliffe technique
2. Introduce yourself
Introduce yourself and give your name and grade
3. Check patient details
Clarify patients identity by confirming their name and asking for their DOB
4. Describe examination
Explain what examination you are performing and what this involves
5. Gain verbal consent
Pre-Procedure
- Choose the preferred arm (non dominant) and one without a drip.
- Place a pillow below the arm to improve the position of the arm.
- Gathers equipment and dons apron and gloves.
Procedure
- Apply tourniquet proximally and palpate the vein along its course to assess direction.
- Swab the skin around the vein with 2% chlorhexadine wipe.
- Place vacutainer needle in to barrel and uncap.
- Hold the skin taut with non dominant hand to anchor the vein.
- Warn the patient ‘sharp scratch’ and proceed firmly with the needle bevel up in to the skin at a 20 degree angle.
- You should feel a slight give as you enter a vein
- Hold the needle very still and attach blood bottles to barrel
- Undo tourniquet
- Withdraw needle and apply gauze, can ask the patient to hold.
- Dispose of sharps and place tape over gauze – ensure bleeding has stopped.
End of Procedure
1. Thank patient
Let the patient know you have finished examining them and thank them for their time.
2. Accurate documentation
Ensure that you have labeled the blood bottles at the patient’s bed side with all the relevant information
How to find a vein
- Ask the patient where they had blood taken from them successfully, and try there!
- Go by what you feel rather than what you see, veins feel bouncy compared to normal skin
- Get the patient to make a fist repeatedly to help bring out the veins
- Try tapping on top of the veins, this releases histamine causes venodilatation.
- Fill a glove with warm water and place for a few minutes on top of the patients hand – this sometimes helps bring out the vein
- Hang the arm over the edge of the bed.
- In oedematous patients, press on top of the hand for a few minutes – sometimes you’d be surprised how prominent the veins will be once the surrounding fluid is squeezed away.
Complications
Top Tips
- It’s best to take your time finding the right vein than having multiple quick unsuccessful attempts.
- Ensure you get enough blood in the bottles, for some lab tests you only need half a bottle (check with hospital labs). For group and save and coagulation, you need to fill to the required point.
- Ensure accurate labelling on Group and save/crossmatch as even one small mistake means you have to take another sample
- Invert the blood bottles gently for a few seconds to stop them from clotting.
- If the patient has small or fragile veins it is best to use a butterfly needle or a needle and syringe as the tools of choice.
- If unsuccessful choose another vein, or switch arms.
- Look for veins in the feet or legs – warn the patient it’s more painful.
- Best to get senior help if struggling.
- Consider a femoral stab if you are unable to get blood from peripheral veins.
Doctor Khalid Newsletter
Join the newsletter to receive the latest updates in your inbox.


