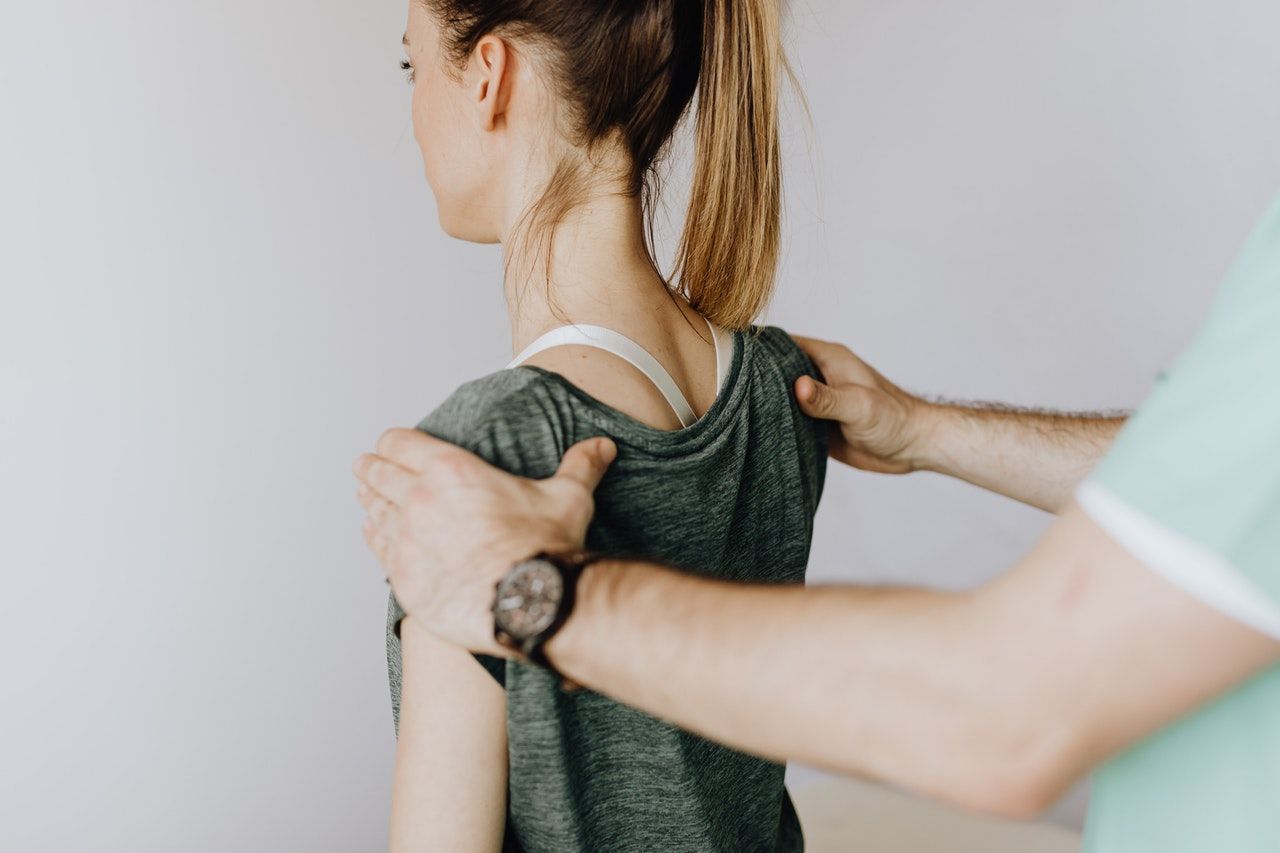
Shoulder Examination
The shoulder examination follows the ‘look, feel, move’ rule of joint exams. Compared to other joint exams, the shoulder examination is often chosen as an OSCE station and you should prepare for it accordingly. The joint is susceptible to injury due to its high mobility and instability. In the real world it is not uncommon to face patients with rotator cuff injuries and dislocations, or chronic problems such as arthritis.
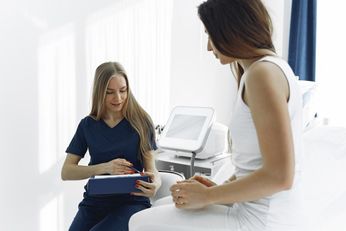
Introduction
1. Wash hands
Wash your hands using the Ayliffe technique
2. Introduce yourself
Introduce yourself and give your name and grade
3. Check patient details
Clarify patient's identity by confirming their name and asking for their DOB
4. Describe examination
Explain what examination you are performing and what this involves
5. Gain verbal consent
6. Expose appropriately
7. Reposition
Ensure the patient is standing for the purposes of this examination
Look
1. End of bed inspection
Inspect patient from the end of the bed and look for the following:
- Aids - Sling/shoulder brace
Remember DWARFS (Deformity, Wasting, Asymmetry, Rashes, Fasciculations, Scars)
2. Front:
- Symmetry of shoulders – scoliosis/arthritis/trauma
- Muscle wasting – deltoids
- Swelling – inflammatory joint disease/effusion
- Scars – previous trauma/surgery
3. Side:
- Alignment – dislocation/scoliosis
- Muscle wasting – deltoid
- Scars – previous trauma/surgery
4. Back:
- Symmetry of shoulders – scoliosis/arthritis/trauma/winged scapula (long thoracic nerve injury)Muscle wasting – rotator cuff muscle atrophy/trapezius atrophy
Feel
Ask if patient is in pain, if so start on painless side
1. Temperature & effusion - warmth suggests inflammation
2. Landmarks (watch patient face for tenderness and note any swelling):
- SCJ -> Clavicle -> ACJ -> Coracoid -> Head of humerus -> Greater tuberosity of humerus -> Scapula spine
3. Muscle bulk - deltoid, supraspinatus and infraspinatus
4. Tendons - flex biceps and feel tendon; push arm back and feel just anterior for supraspinatus tendon
Move
1. Flexion – Raise arms forward 180 degrees
2. Extension – Swing arms back 40 degrees
3. Abduction – Raise arms laterally 180 degrees
4. Adduction – Bring arms past midline and across body
5. External rotation – Ask patient to keep elbows tucked in line with body and with elbows flexed move forearms out in an arc 70 degrees
6. Internal rotation – Ask patient to try to touch lower scapula behind their back
7. Assess movement of scapula:
Ask patient to abduct shoulder while you palpate inferior pole of scapula, normally 50-70% of movement comes from glenohumeral joint. In joint damage (e.g. injury/inflammation) however, majority of movement will be done by scapula
8. Assess passive movement:
Ask patient to relax and warn you if they feel any pain. Hold shoulder and move in all directions – feel for crepitus
Special Tests
Neer Impingement Test:
Place one hand on scapula to stabilise, and with the other hand passively forward flex the patient’s arm as high as possible. Pain (Neer sign) results in a positive test. This suggests supraspinatus tendinitis/impingement, but may also indicate bicipital tendinitis (long head)
Hawkin’s Test:
Forward flex arm to 90 degrees, pronate hand and flex elbow to 90 degrees also. Passively push hand down while holding elbow stable (internal rotation). Pain is a positive test and suggests subacromial impingement or rotator cuff tendinitis
Shoulder Apprehension Test:
Patient holds hand out like a high 5 gesture, standing behind the patient passively pull the elbow back and push the proximal humerus forward. Apprehension from the patient is a positive test and suggests shoulder stabilisation problems
Scarf ACJ Test:
Patient holds hand over opposite shoulder, pain is a positive test and suggests AC joint damage
Function
Ask patient to:
- Hold hands behind lower back - Note how far up their back they can slide their hands
- Hold hands behind head
End of examination
1. Thank patient
Let the patient know you have finished examining them and thank them for their time. Be courteous and offer them help to get redressed.
2. Summarise findings
3. State other exams/investigations for completion:
- Full neurovascular exam of upper limbs
- Examine spine & elbow joint
- Perform imaging if appropriate
Doctor Khalid Newsletter
Join the newsletter to receive the latest updates in your inbox.
