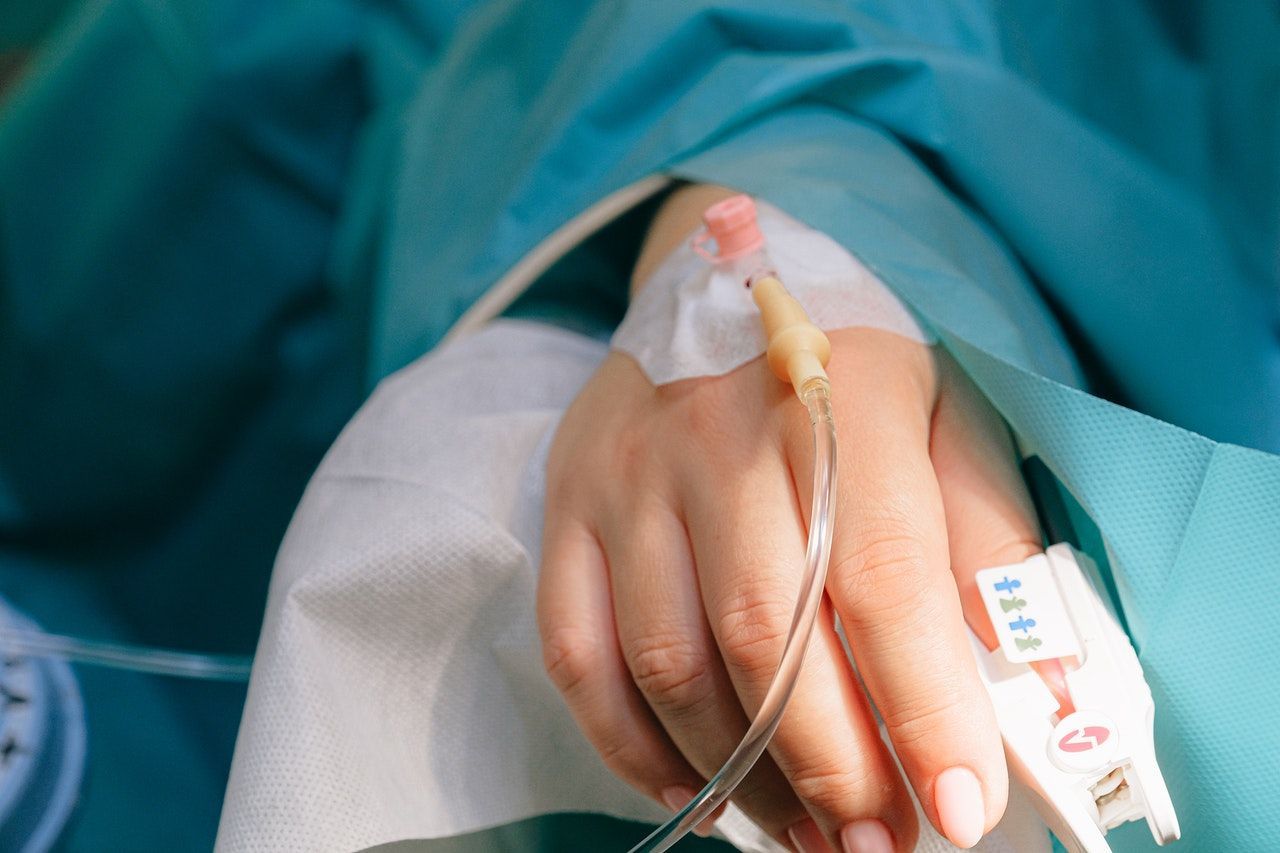
Intravenous (IV) Cannulation
Intravenous (IV) cannulation is a technique that involves the placement of a small plastic tube (cannula or venflon) in to a patient's vein to provide venous access. Having venous access is often important in hospitals for example to initiate IV antibiotics or for a blood transfusion. This is a key technique to master as it is often tested in OSCE exams.
Indications and Contraindications
Acutely unwell patient – administration of fluids, medication or blood.
One of the basic skills that you will be routinely called upon as junior doctors to do– also important to master it as it is a vital skill.
Contraindications
- No consent
- Cellulitis over target cannula location
- AV fistula – in renal patients always ask them which arm they have a fistula in and do not take blood from that arm!
Equipment
- Gloves + apron
- Tourniquet
- Chlorhexine wipe
- Cannula
- Saline flush + syringe
- Sharps bin
- Cannula dressing
- Connector
Introduction
- Wash hands
Wash your hands using the Ayliffe technique
2. Introduce yourself
Introduce yourself and give your name and grade
3. Check patient details
Clarify patients identity by confirming their name and asking for their DOB
4. Describe examination
Explain what examination you are performing and what this involves
5. Gain verbal consent
Pre-Procedure
- Choose the preferred arm (non dominant).
- Place a pillow below the arm to improve the position of the arm.
- Gather equipment and don gloves and apron
Procedure
- Draw up the 10ml of saline in to syringe
- Apply tourniquet proximally, palpate the vein along its course to assess direction.
- Swab the skin around the vein with 2% chlorhexadine wipe.
- Hold the skin taut with non dominant hand to anchor the vein.
- Warn the patient ‘sharp scratch’ and proceed gently with the cannula needle bevel up in to the skin at a 20 degree angle.
- Look for flashback in to the cannula and proceed a further 1-2 mm further in to the vein
- Withdraw the cannula needle slightly and look for blood flow in to the cannula.
- Slide cannula in to the vein, release tourniquet and apply gentle pressure on the cannulated vein.
- Carefully dispose of sharps.
- Place dressing over cannula and flush with saline to ensure correct positioning
End of Procedure
1. Thank patient
Let the patient know you have finished examining them and thank them for their time. Be courteous and offer them help to get redressed.
2. Accurate documentation
Ensure that you have labeled the cannula dressing with date of insertion and your signature.
Document in the patient’s notes (most wards have cannula stickers) Date, time, indication, location and any complications.
Complications
- Cannula can tissue – fluid enters subcutaneous tissue and not the vein.
- Haematoma formation
- Cellulitis or thrombophlebitis
Top Tips
- Avoid cannulating at joints as this can be uncomfortable for patients and the drip machine will bleep every time they flex their joints.
- Consider using Emla cream for more squeamish patients. Apply 1 hour before cannulating.
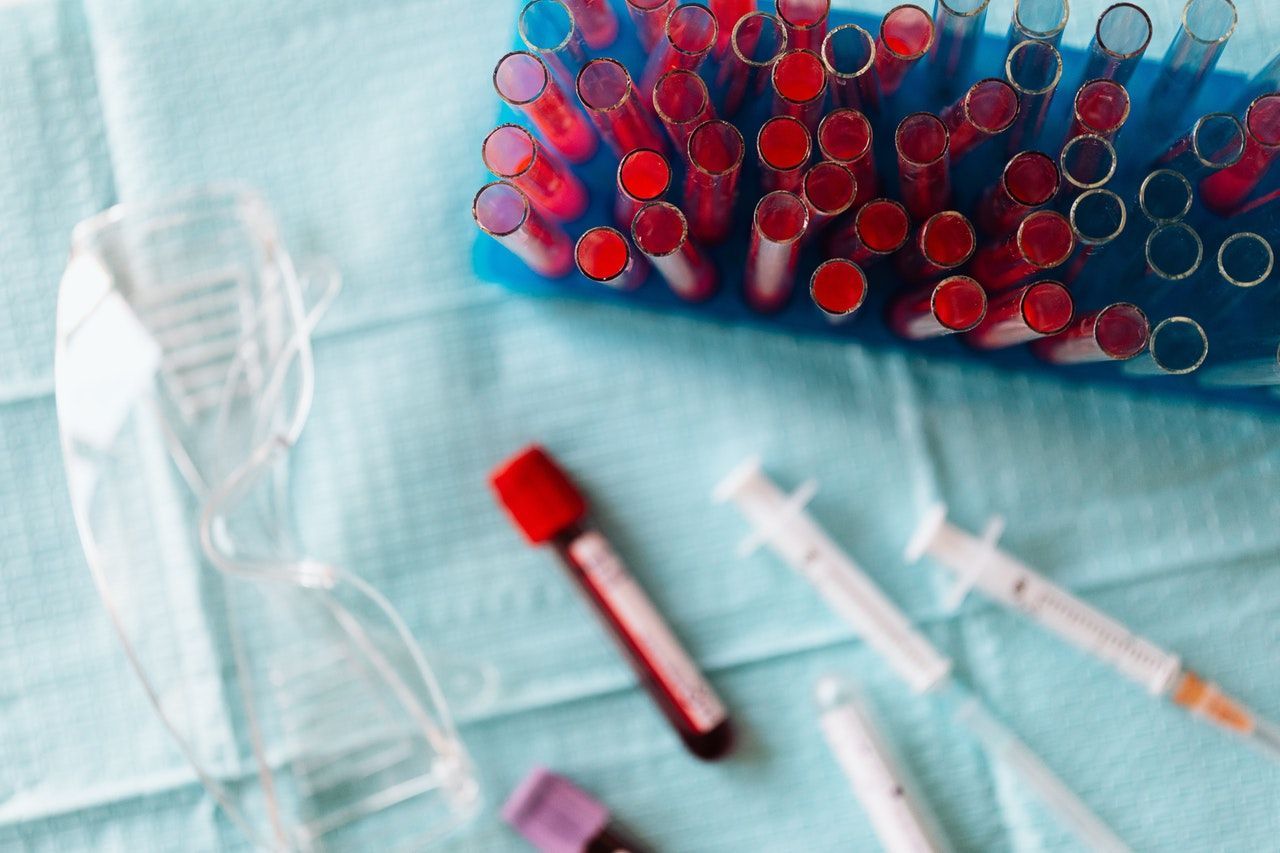
- Blood can be taken when you first cannulate a patient. Simply attach another syringe and draw the required blood. Remember to flush afterwards with saline.
- Remove cannula if it is difficult to flush, causes discomfort or a bleb forms after flushing.
- Do not re-insert the cannula needle in to plastic cannula after withdrawing; this could dislodge bits of the plastic cannula that could embolise.
- Look out for signs of cellulitis/thrombophlebitis – remove cannula if skin becomes tender, red or swollen.
- Intravenous cannulation can be a little tricky to begin with. Important things to keep in mind is to hold the skin taut with the non dominant hand to anchor the vein.
- See venepuncture section for tips on how to deal with difficult veins
- Involve seniors, if the patient is difficult to cannulate. Patient’s with poor peripheral access may then be a candidate for a PICC line or a central line.
Doctor Khalid Newsletter
Join the newsletter to receive the latest updates in your inbox.


%20Cannulation)