Gastrointestinal Examination
The examination of the abdomen (or Gastrointestinal exam) is an examination that looks for signs of pathology within the gastrointestinal (GI) tract. The GI exam does not simply focus on the abdomen but is also a systemic clinical examination of the patient. It is also one of the core aspects of any OSCE exams. In the real world any patient that is admitted into the hospital needs to have a gastrointestinal exam completed. Often patient's with abdominal pain, malaena or haematemesis will need specific focus on their gastrointestinal system due to the nature of their presenting complaint.
Introduction
- Wash hands
Wash your hands using the Ayliffe technique
2. Introduce yourself
Introduce yourself and give your name and grade
3. Check patient details
Clarify patients identity by confirming their name and asking for their DOB
4. Describe examination
Explain what examination you are performing and what this involves
5. Gain verbal consent
6. Offer a chaperone
Ask if they would like a chaperone
Ask if the patient would like to use the toilet before the start of the exam as you will be pressing on their bladder. It’s a nice thing to do and you’ll gain Brownie Points in an exam situation for showing compassion.
Peripheral Examination
- Positioning patient at 45 deg
Initially lie the patient at 45 degrees and expose them from waist up
2. End of bed inspection
Inspect the patient from the end of the best and look for the following:
- Patient - Note any tachypnoea, cachexia, jaundice or ascites.
- Adjuncts - eg. any supplemental O2 (%), IV lines, infusions, catheter
- Paraphernalia - eg. kidney dish, commode
3. Inspect the hands
Inspect the hands and check for stigmata of chronic GI disease
- Skin
- Bronze skin (Haemochromatosis)
- Yellow (Jaundice - ? liver disease)
- Tar staining (Smoker)
- Spider naevi (Abnormal >2, caused by COCP, pregnancy, alcoholic cirrhosis, hepatic cirrhosis)
- Palmar erythema (liver cirrhosis, Wilson’s disease, Hemochromatosis)
- Dupuytren’s contracture (Liver cirrhosis, phenytoin, pregnancy, manual labour, trauma)
- Temperature
- Cold hands - ? Raynauds (Scleroderma)
- Nails
- Clubbing - Ulcerative colitis (UC), Crohns disease, primary biliary cirrhosis (PBC), liver cirrhosis, achalasia
- Yellow nails - jaundice, tar staining
- Koilonychia - iron deficiency
- Leuconychia - hypoalbuminaemia, chronic liver disease
4. Check pulse and respiratory rate
Check the patient's pulse and resp rate. Time for 15 seconds and multiply by 4.
- Tachycardia/tachypnoea (signs of sepsis)
- Irregular (AF)
5. Check for “Liver flap”
Ask the patients to put their hands in front of them and check for tremor. Then ask them to cock their wrists back as if they were stopping traffic. Check for any flapping.
- Asterixis (Encephalopathy)
- Tremor (Delirium Tremens)
6. Inspect the face and neck
Next, inspect their eyes, mouth and neck for the following.
- Eyes
- Pale conjunctiva (anaemia)
- Yellow (Jaundice)
- Kayser-Fleischer ring (Wilson’s disease (early stages only seen with slit lamp))
- Mouth
- Poor dentition (Scurvy)
- Gingivitis (Scurvy)
- Apthous ulcers (Crohn’s > UC)
- Glositis (large tongue) - (iron deficiency)
- Angular cheilitis (cuts to edge of lips) (iron deficiency)
- Neck
- Raised JVP (SVC obstruction, Hepatovenous obstruction)
- Lymphadenopathy (Lymphoma, Virchow’s Node - GI malignancy)

Abdominal examination
- Position patient at 180 deg
Position the patient supine on the bed. Make sure they are comfortable.
2. General Inspection
Inspect the abdomen again more closely and look for the following:
- Skin
- Yellow (Jaundice)
- Caputs Medusa (Liver cirrhosis)
- Pyoderma gangrenosum (IBD)
- Spider naevi (Abnormal >2, caused by COCP, pregnancy, alcoholic cirrhosis, hepatic cirrhosis)
- Shape
- Distension (6 F’s - fat/fluid/flatus/faeces/foetus/flipping big tumour)
- Masses (Lie flat and take a sky line view of the abdomen)
- Scar
- Stoma
3. Palpation of the abdomen
Palpate the abdomen making sure you are at the level of the abdomen. Palpate lightly initially and then move on to deep palpation. Make sure you palpate the 9 areas of the abdomen. NB - start away from the site of pain. Look at the patient's face for signs of pain/discomfort.
- right hypochondriac - liver, gallbladder
- epigastric region - pancreas, duodenum, stomach
- left hypochondriac - stomach, spleen
- Right lumbar region - Right kidney, ureter, hepatic flexure of large bowel
- Umbilical region - pancreas, bowel
- Left lumbar region - Left kidney, ureter,
- Right iliac region - Appendix, right ovary (female), renal transplant
- Suprapubic region - Bladder, uterus (female)
- Left iliac region - Sigmoid colon, left ovary (female), renal transplant
4. Examine for hepatomegaly
Palpate then percuss for hepatomegaly.
- Causes of hepatomegaly (LINK)
5. Examine for splenomegaly
Palpate then percuss for splenomegaly
- Causes of splenomegaly (LINK)
6. Examine loin area
Palpate loin areas for kidneys
7. Examine abdominal aorta
Palpate the abdomen centrally for the abdominal aorta. Expansile mass may be suggestive of an aneurysm.
8. Examine for ascites
Percuss the abdomen for shifting dullness which suggests ascites.
- Causes of ascites (LINK)
9. Auscultate the abdomen
Listen to the abdomen for the following:
- Bowel sounds - active (Normal/increased/decreased/nil)
- Pitch - high pitched bowel sounds and tinkling are signs of small bowel obstruction
- Aortic and renal bruits (Mickey mouse sign)
End of examination
- Thank patient
Let the patient know you have finished examining them and thank them for their time. Be courteous and offer them help to get redressed.
2. State other exams for completion
Turn to the examiner and state what else you would do to complete the exam.
3. State what tests you would perform
Explain to the examiner what tests and investigations you would perform
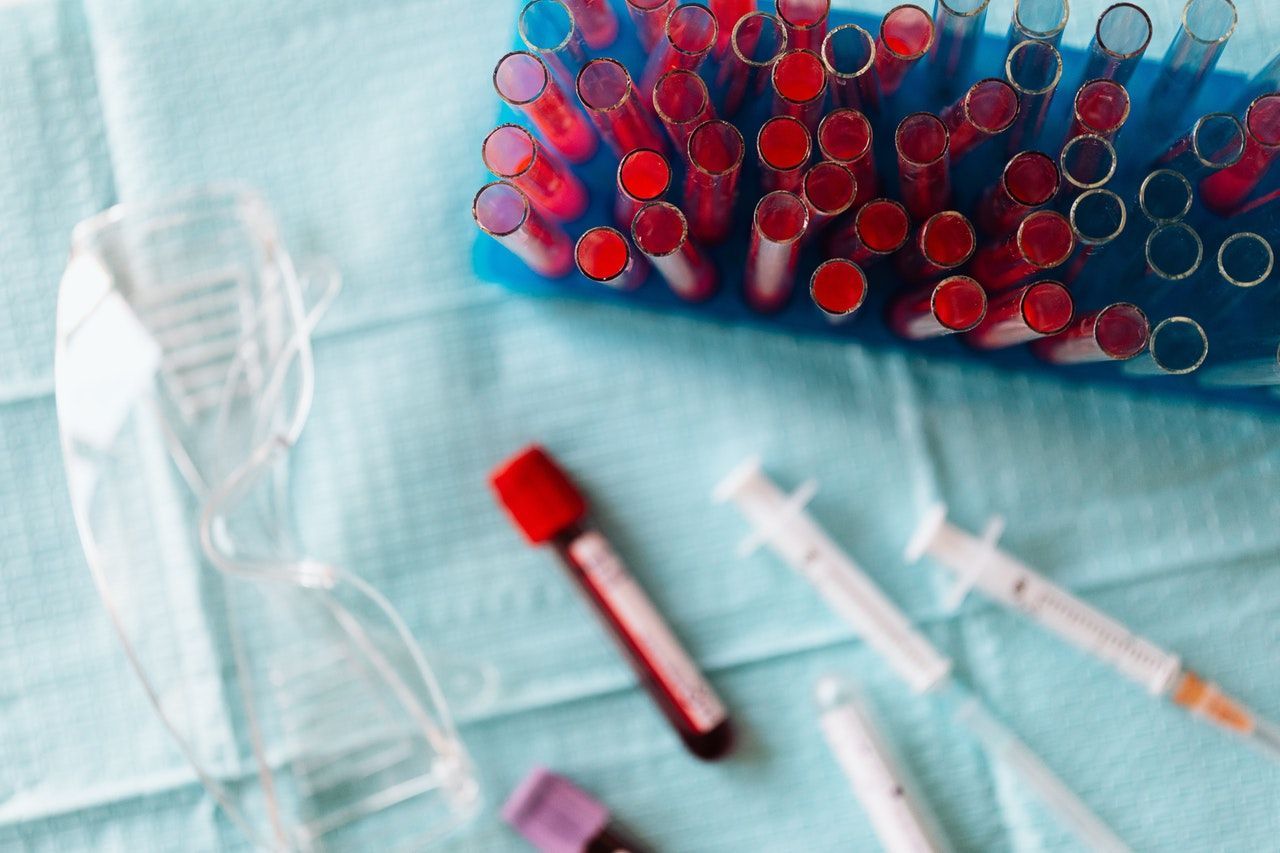
- Dip/MC&S - infection
- Pregnancy test - female of reproductive age
- FBC - anaemia/infection
- U&E - baseline, AKI
- LFT - hepatobiliary picture, hepatitis
- CRP / ESR - signs of inflammation
- Air under diaphragm
- Small or large bowel dilatation
- Renal stone
- Gallstone
Doctor Khalid Newsletter
Join the newsletter to receive the latest updates in your inbox.


