Arterial Blood Gas (ABG)
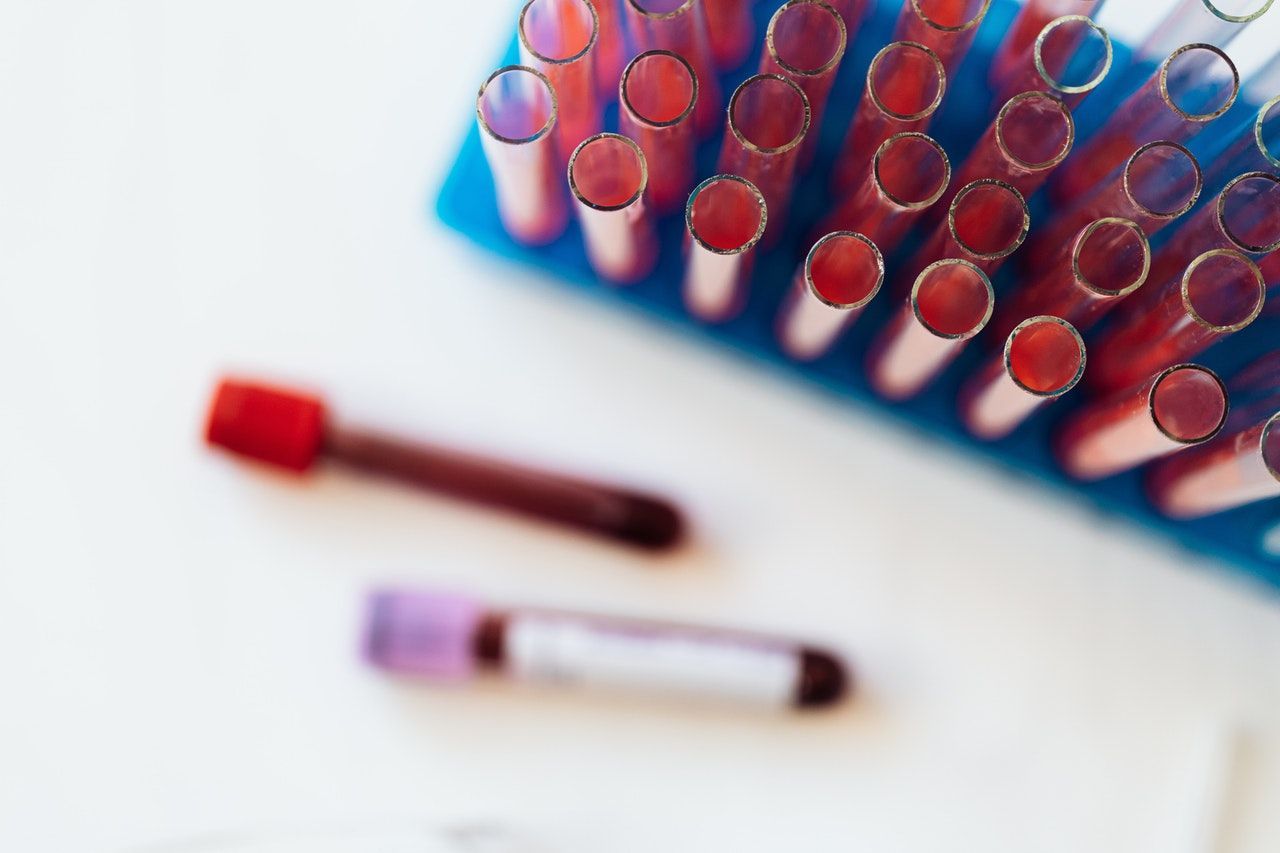
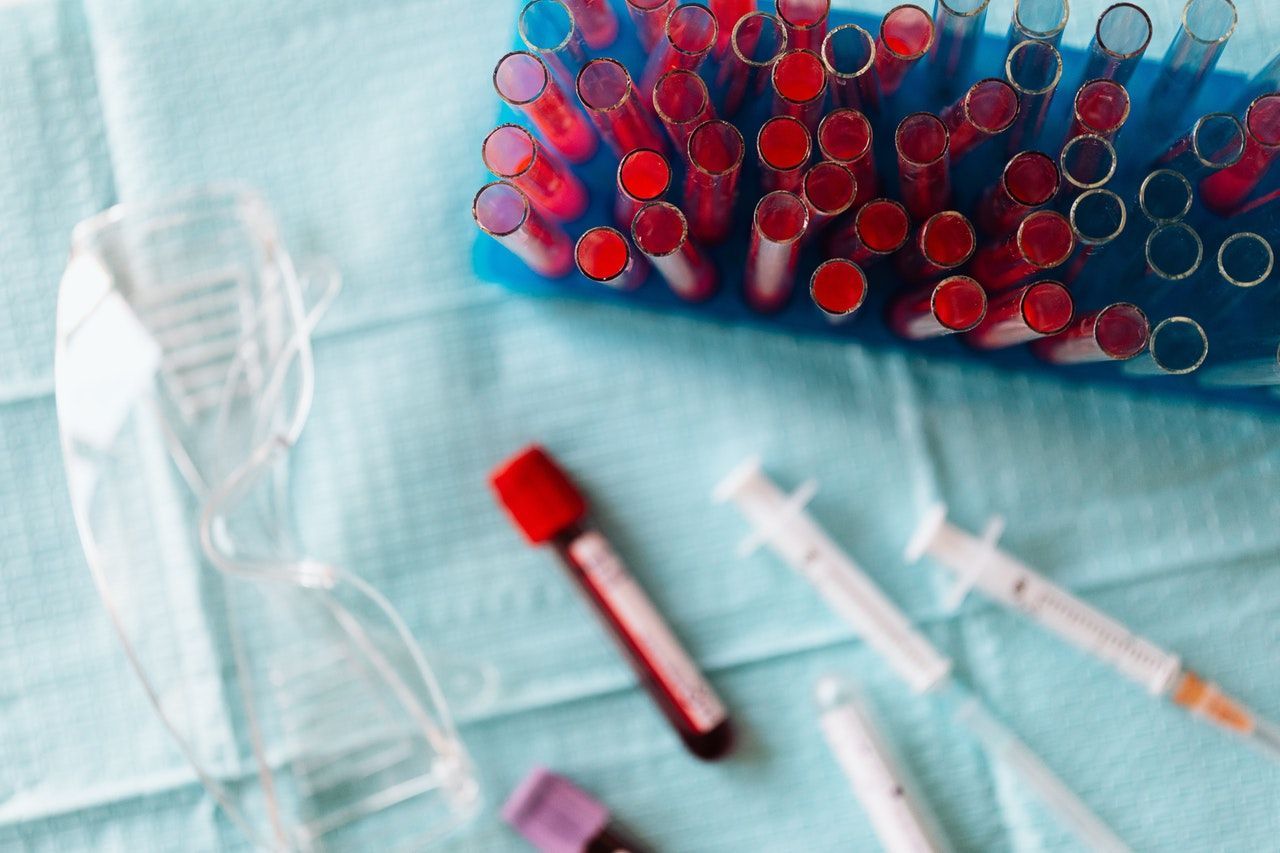
An Arterial Blood Gas (ABG) is a blood sample taken from an artery, usually from the radial artery. An ABG sample will often be processed quickly and give a clinician an idea of the oxygen, carbon dioxide and pH levels in the blood. This is often very important in the treatment if an acutely unwell patient. It is also a blood test that is important for monitoring if a treatment is working for a patient for example those that come in with Chronic Obstructive Pulmonary Disease (COPD) or Asthama.
Indications and contraindications
- Acutely unwell patients - help with diagnosis and indicate severity of illness.
- Guide management and provides early warning of possible deterioration.
- Monitor effectiveness of treatment
Performing an ABG gives the clinician key information about:
- Oxygen and CO2 levels in the blood
- Acid base balance
- Bicarbonate, base excess and lactate levels
It is usual to get an ABG sample from the radial artery. If the patient is peripherally shut-down and acutely unwell it can also be taken from the femoral artery.
Contraindications
- Lack of consent
- Local infection around near predicted puncture point
- Allen test -ive ( inadequate collateral circulation to hand)
Introduction
- Wash hands
Wash your hands using the Ayliffe technique
2. Introduce yourself
Introduce yourself and give your name and grade
3. Check patient details
Clarify patients identity by confirming their name and asking for their DOB
4. Describe examination
Explain what examination you are performing and what this involves
5. Gain verbal consent
Equipment
Consider also a local anaesthetic if the patient is not acutely unwell.
- Gloves + Apron
- 2% chlorhexidine wipe
- Heparinised syringe
- Needle (blue for radial and green for femoral)
- Sharps disposal container
- Gauze
- Tape
Pre-Procedure
- Gather equipment
- Adequate patient position - wrist over pillow - with the wrist supinated and slightly extended.
- Do a modified Allen’s test (if required)
Modified Allen’s test (not commonly done in practice but may be required in your OSCE - check before hand with clinical skills staff)
- Patient to make a fist
- Pressure applied to both radial and ulnar arteries by examiner
- Hold for 10 seconds
- Patient to open fist
- Release ulnar side – if re-perfusion of the whole hand occurs then assume adequate ulnar circulation.
Procedure
- Assemble equipment don gloves and apron
- Attach needle to syringe and expel heparin, draw back the plunger .
- Identify radial artery and clean skin
- Place 2 fingers on radial artery, holding the syringe like a pen.
- Warn the patient ‘Sharp Scratch’ and enter at a 30-45 degree angle against flow of blood. Bevel facing up.
- Once hitting an artery blood should pulsate in to syringe.
- If unsuccessful and no blood collects, re-asses pulse and withdraw needle slightly while keeping tip under skin and attempt in a different direction
- Collect at least 2mls (you may get away with 1ml). Apply pressure to puncture site with gauze and withdraw needle.
- Apply pressure for at least 5 minutes or until bleeding stops.
- Remove the needle and place in sharps bin, expel any air bubbles from the syringe and place the cap on top.
End of Procedure
1. Thank patient
Let the patient know you have finished examining them and thank them for their time.
2. Accurate documentation
Ensure that you have taken with you the patient’s details, often a sticky lable from the notes shall suffice. Also ensure that you note down how much oxygen the patient is on.
3. Take sample to analyser immediately
Ensure that this is done promptly and ensure syringe is placed in ice if there is a delay
Complications
- Puncture site bleeding
- Haematoma formation
- Ischaemia of hands or fingers
- Infection
- Nerve damage
Top Tips
- Hold syringe like a pen
- To steady your hand try anchoring it against patient’s hand
- It’s in the bag when you see pulsating, bright red blood filling the syringe quickly
- Compare blood oxygen saturations with sats prob to ensure it is an arterial sample
- Don’t expect immediate changes on an ABG after changing a patient’s oxygen level.
- Try on the other side, as multiple attempts on the same side may provoke arterial spasm which reduces the chance of a further success.
- Get help! If a patient is unwell they may be peripherally shut down so it may be difficult to get a sample, always best to get help rather than waste too much time.
- Femoral arterial sample if struggling – if experienced in the procedure.
Femoral arterial sample
Equipment – same as above, this time green needle (21G).
Procedure
- As above. Important differences include:
- Lying the patient flat
- Identify femoral pulse, which lies at the midpoint between the anterior superior iliac spine and the pubic symphysis
- Inserting the needle at 90 degree angle at the point of pulsation
- Apply lots of firm pressure for 5 minutes or until bleeding stops, don’t just put tape over gauze and leave.
Doctor Khalid Newsletter
Join the newsletter to receive the latest updates in your inbox.

)